I used to make a non-healthy version of these bars from a recipe a friend gave me. The original recipe used store bought refrigerated cookie dough and a filling made from cream cheese, egg and sugar. I was looking through old recipes recently to see if I could convert any of our old favorites to be THM friendly and I knew I wanted to try this one!
 I knew immediately that the filling would be easy to rework…simply replace the sugar with an acceptable sugar substitute. I also added a little heavy cream to add to the creaminess of the filling. The cookie dough took a little more work. I used several recipes I had found for on-plan cookies and combined and tweaked until I found a recipe I liked.
My family DEVOURED these bars! Even my picky kids! My 14 year old son has asked me to make these all the time…that’s really saying something because they usually turn their noses up when the find out a recipe is THM friendly!

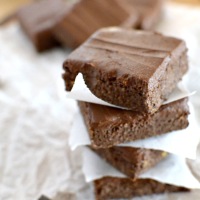
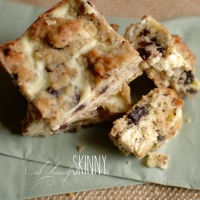
Chocolate Chip Cheesecake Bars {THM-S}
Cookie:
2 cups almond flour
1 cup coconut
1-1/2 tsp baking powder
1/4 tsp salt
1 stick butter, soft
1/4 cup truvia
1 egg
3/4 tsp vanilla
3/4 cup dark chocolate chips
Cheesecake Filling:
8 oz. cream cheese
1/4 cup truvia, ground fine
1/4 cup heavy cream
1 egg
1/2 tsp vanilla
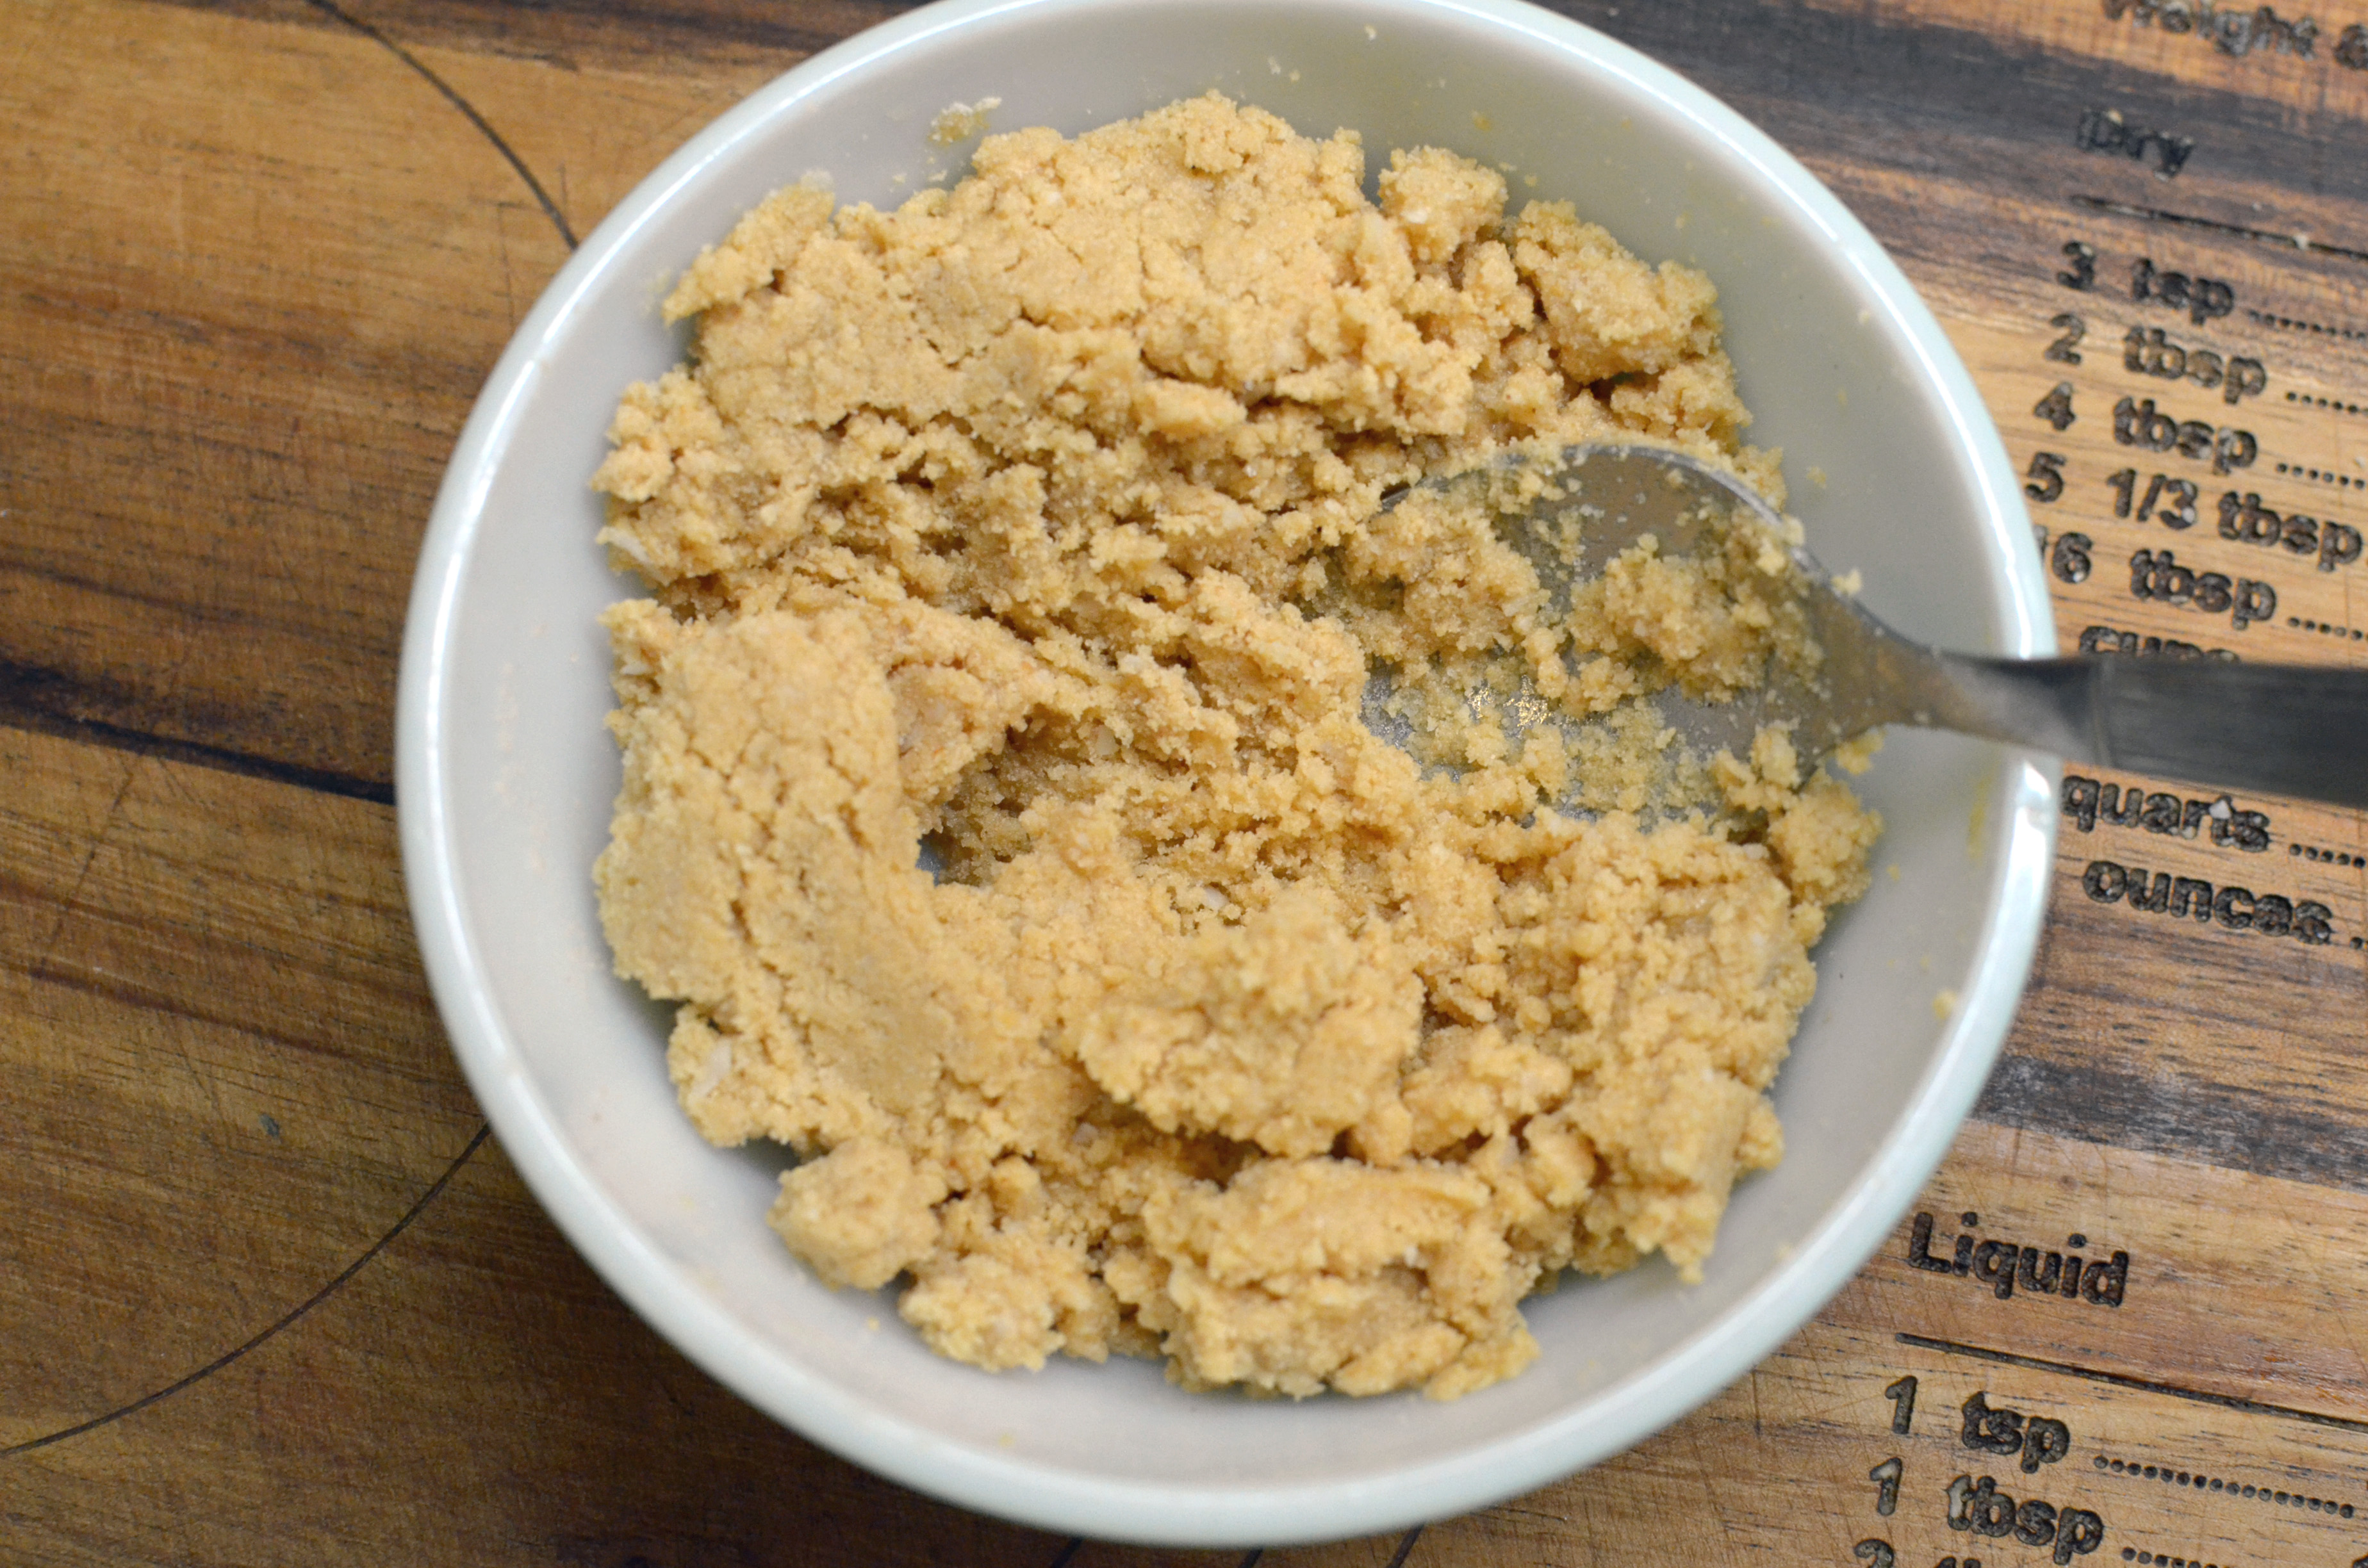
For the cookie dough: Cream butter and truvia until fluffy. Add egg and mix well. Beat in almond flour, coconut, baking powder, and salt. Stir in chocolate chips. Press half of the dough into a well greased 8×8 pan. Bake at 325 for 10 minutes.
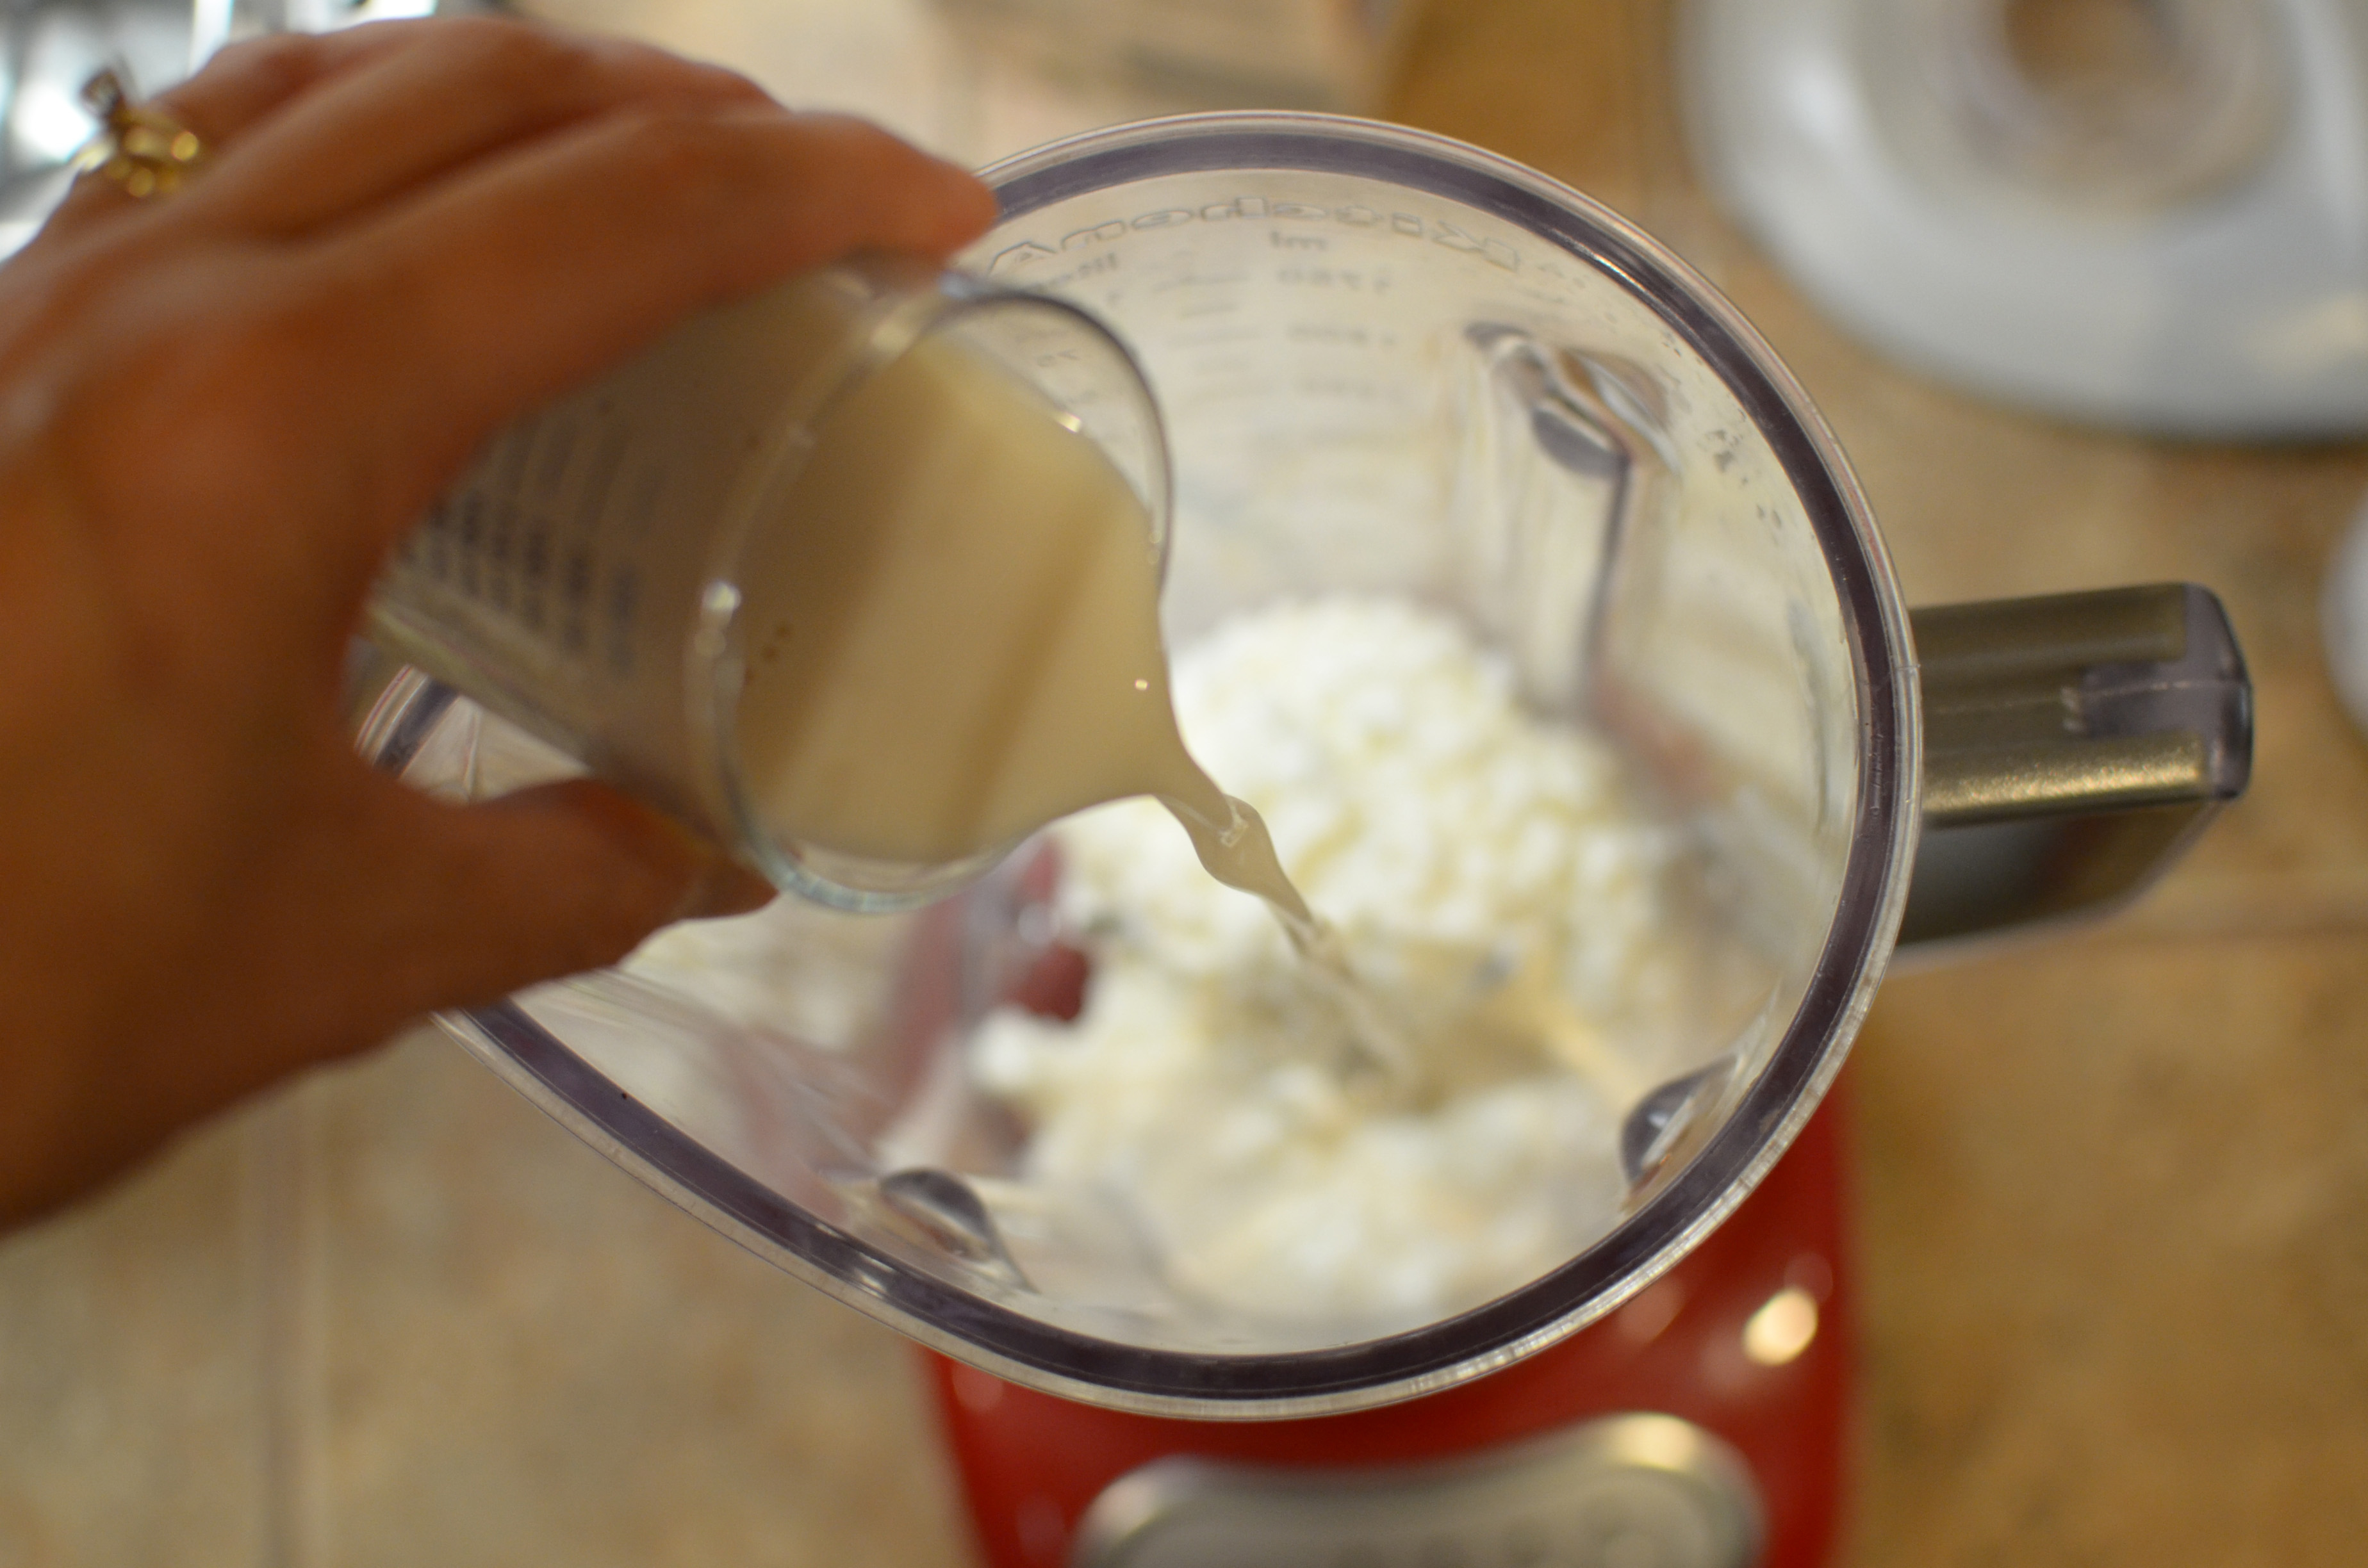
For cheesecake filling: Beat cream cheese and truvia until smooth. Add heavy cream, egg, and vanilla, beating well. Pour over partially baked crust.
Crumble remaining cookie dough over top of filling. Bake another 25 minutes or until golden brown and the filling is set. Let cool completely and then refrigerate for at least an hour before serving.